OMTech Polar Camera Set Up: A Step by Step Guide
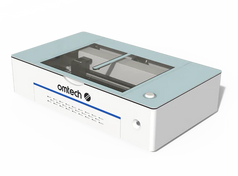
The OMTech Polar desktop engraver stands out as a highly sought-after CO2 laser device in today's market. It caters perfectly to small laser engraving enterprises, laser enthusiasts, and beginners in arts and crafts looking to embark on exciting project endeavors. With its compact size, the OMTech Polar fits seamlessly on office desks and is easily transportable, making it convenient for on-the-go creativity. Equipped with essential features like 2 rotary attachments, a 60W inline duct fan, duct tubes, a built-in ventilation system, and laser coolant, its standout feature is the 360-degree panoramic 5MP camera. This integrated camera enables users to scan, drag, and drop images, providing real-time visualization of how designs and patterns interact with various materials.
Setting Up Your Polar Laser Camera: A Detailed Guide
To initiate the setup process, begin by connecting the USB cable from your laptop to the designated 'camera port' on your Polar device and then power on the laser cutting machine by turning the key clockwise.

Access the Lightburn software on your computer and navigate to the 'laser tools' section at the top left corner of the Lightburn homepage. Select 'Calibrate Camera Lens' and choose the appropriate camera labeled 'SHUNCCM'.
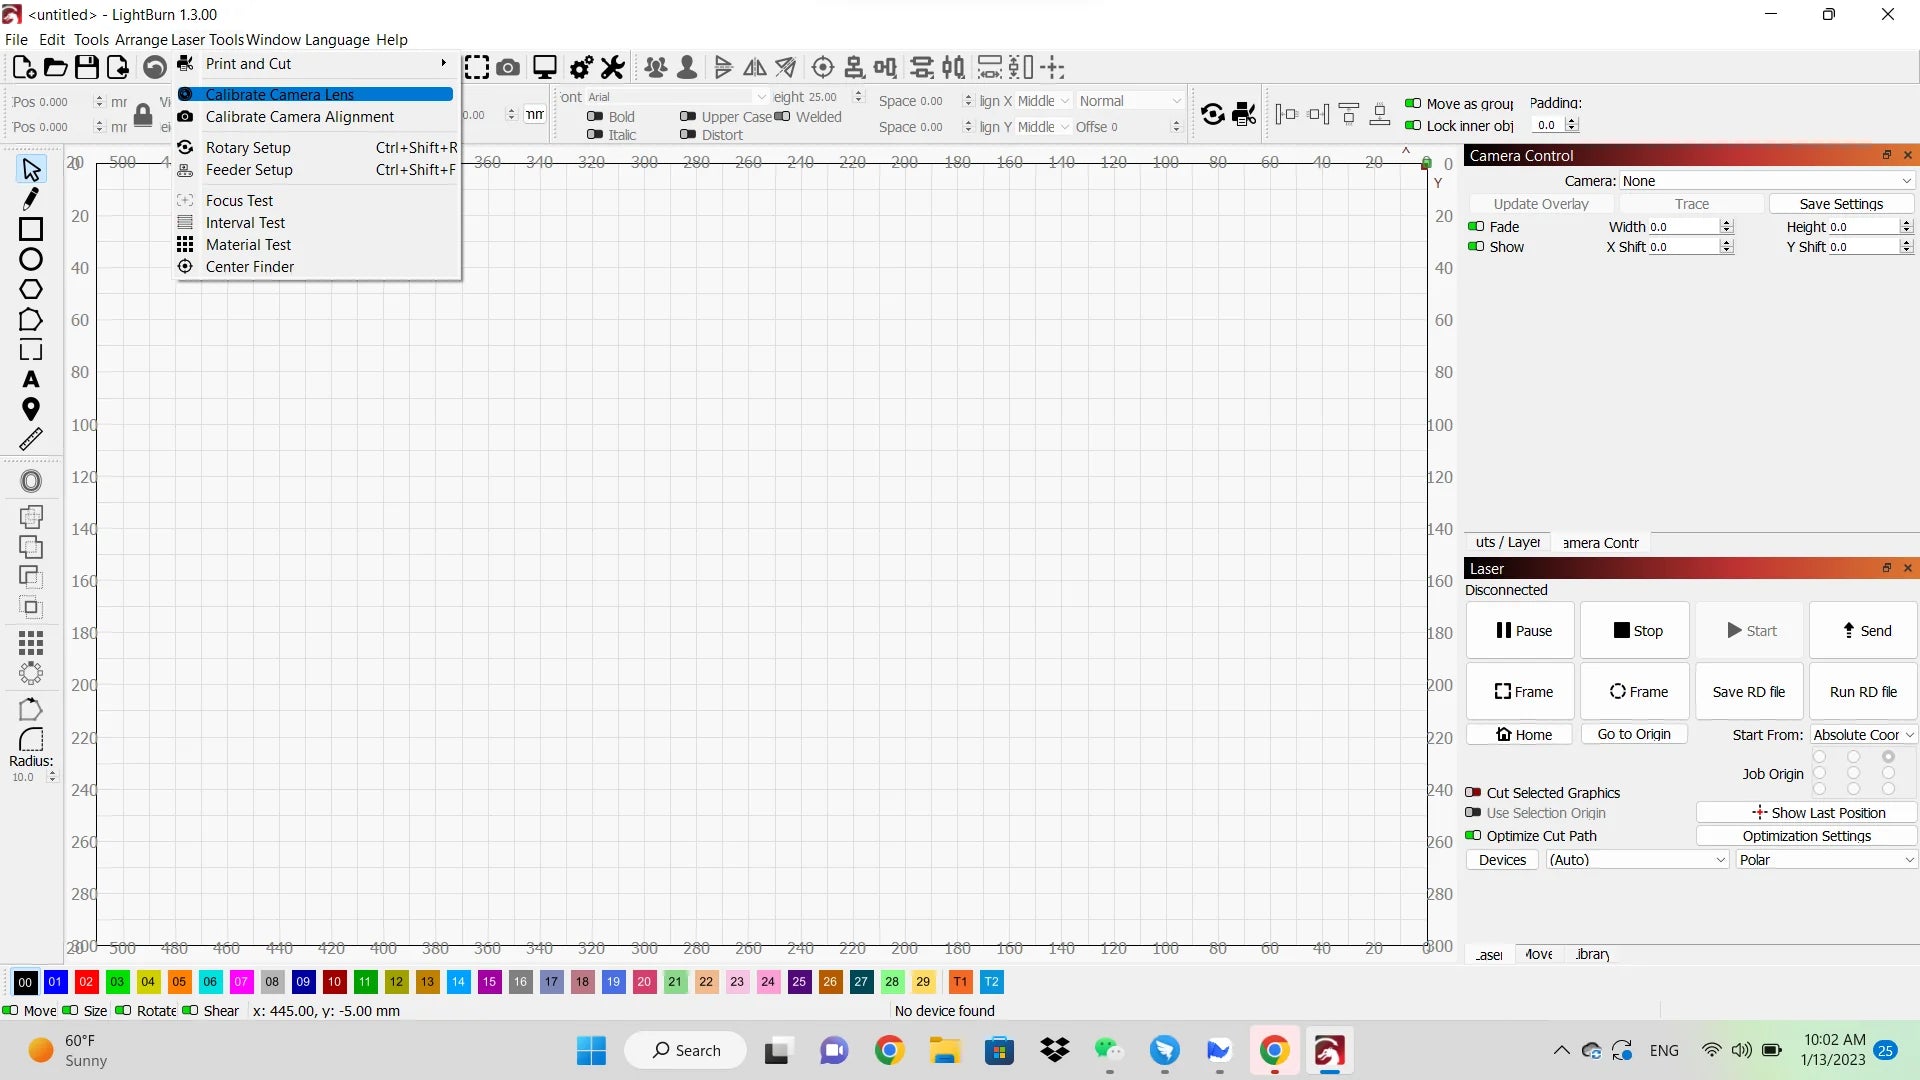
Next, download the circle pattern image from the Lightburn software by clicking the provided link and print out the circular pattern document. Place this pattern sheet onto the center of the Polar honeycomb bed.

Continuously readjust the circle pattern sheet until the score reaches the desired level, capturing and repeating the process from various positions within the honeycomb bed as guided by the Lightburn software. Check more details from the video guide below (at 5:09).
Once calibration is completed, proceed to set up the camera alignment.

For camera alignment, navigate to 'laser tools' and select 'calibrate camera alignment'. Choose the camera style image that corresponds to your device, select the appropriate camera ('SHUNCCM'), and input all necessary laser engraving details such as material thickness, fill speed, line speed, fill power, and line power.


Ensure the lid of your laser machine is closed for safety, then turn on the machine. Click on 'frame' and proceed to run the 4 corner test cuts.
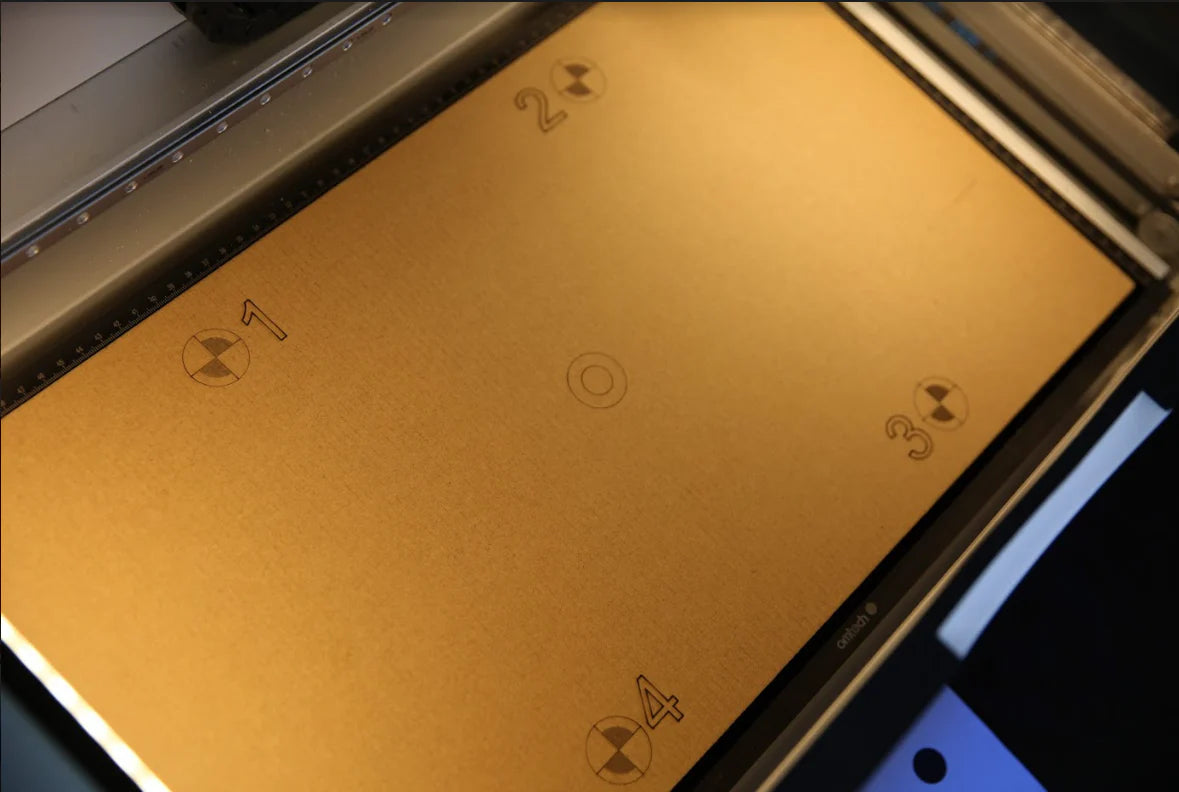
Once the test cuts are visible, click on 'marker', zoom in on mark number 1, and double click on the center of the mark to pinpoint the corner using a click marker.

Repeat this process for corners 2, 3, and 4, then press the finish button to complete the alignment. Your camera is now properly set up. Access the camera functions by clicking on the windows tab and selecting 'camera control'.

Utilizing the Camera for Laser Engraving
With your camera calibrated and positions aligned, you can now scan, trace, and engrave images within the work area. Insert the material you wish to work with, such as white bread in this example. Import the desired file for engraving, head to the camera control window, and select 'update overlay'.


For a more advanced project, scan an image like a golden curry box using the trace function.


Adjust the cutoff and threshold parameters for scanning the image, ungroup the image to isolate the desired section, and remove any excess scanned portions from the honeycomb bed. Once you have the desired image, position it on the material for laser engraving. Use appropriate settings, such as a speed of 200mm/s at 20% power, to etch the material without burning it.
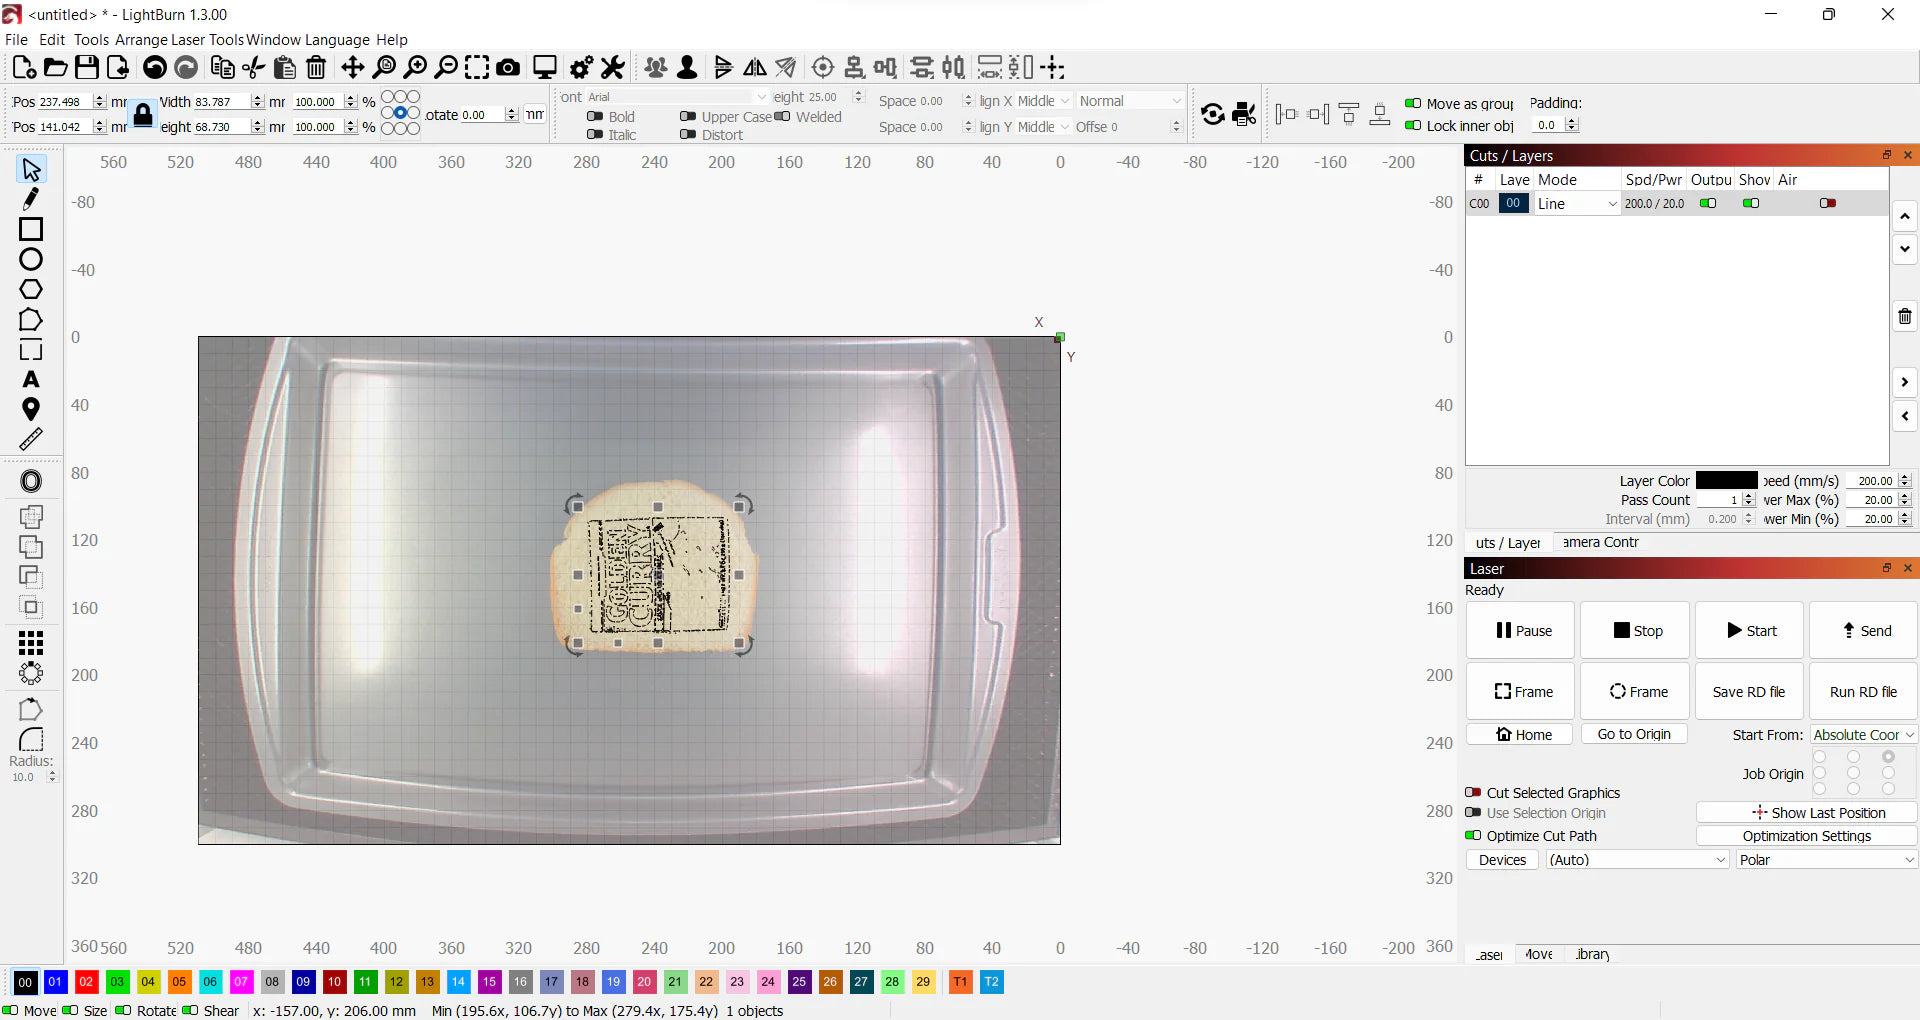
Witness the final product: a charming golden curry laser-etched white bread, showcasing the capabilities of the OMTech Polar built-in camera.

In Conclusion
If you are intrigued by the possibilities, consider acquiring the OMTech Polar Desktop CO2 laser engraving machine—a cost-effective and versatile alternative to the Glowforge. For those interested in further exploring the Lightburn software, you can enroll in a comprehensive Lightburn course offered by Make or Break Shop. Unleash your creativity and maximize the potential of your OMTech Polar with these innovative features and resources.


