Laser Engraving Guide for Beginners: A Comprehensive Walkthrough
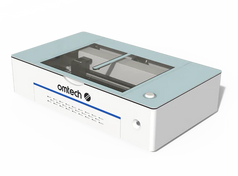
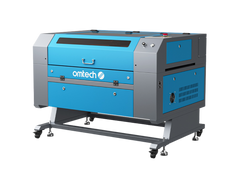
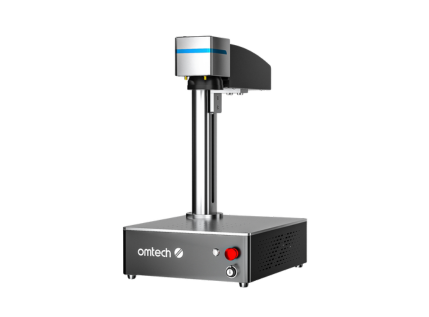
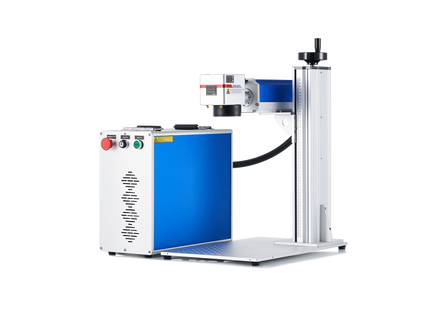
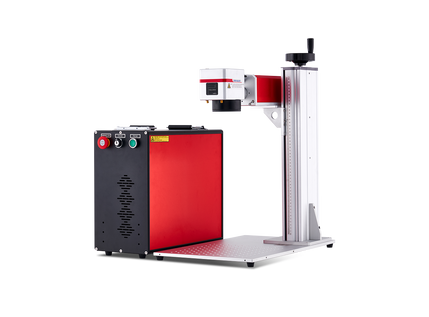
As a proud owner of an OMTech MF2028-60W CO2 laser engraver (and a 30W fiber laser), my journey with the CO2 laser machine began in March 2021. It has been a learning experience filled with excitement as I explored the various possibilities of creating with laser technology.
With the holiday season approaching, I decided to embark on a DIY project to add a personal touch to my gifts. In this simple and enjoyable holiday project, I will guide you through the process of designing Christmas tags to enhance your DIY presents.
Exploring the Possibilities of Holiday Tags
These holiday tags can be used in versatile ways: as tree ornaments, stocking tags, or to complement your gift wrapping. They are designed to hang elegantly from a Christmas stocking or the handle of a gift bag, adding a special touch to your presents. You can even customize them to suit your preferences. This project provides a creative outlet to utilize scrap materials and craft beautiful and memorable pieces that will be cherished by recipients.
In this article, I will present a step-by-step laser engraving guide with detailed instructions on engraving Christmas tags, utilizing LightBurn, working with a Ruida controller, and more. This project, completed on my 60W laser engraver, took approximately half an hour.
Preparation and Material List
Before diving into a project, ensure that your machine setup, mirror alignment, and ramp test are all completed. Running test cards or accessing libraries can also provide inspiration and guidance as you begin your engraving journey.
To create these Holiday Tags using your CO2 laser engraver, gather the following materials:
- 1 sheet of 1/8 baltic birch for the top layer (paint and mask before cutting)
- 1 sheet of 5/32 maple (mask this as well)
- Super glue
- Ribbon/twine/string
Feel free to select materials that resonate with your vision for the project. While I prefer the contrast between white and darker woods, you can choose materials that align with your aesthetic preferences. Opt for a thinner wood for the top layer to avoid a bulky appearance, but feel free to customize based on your personal taste.
Understanding Masking for Laser Engraving
Masking is a thin, paper-based tape that can be applied over wood or acrylic surfaces before engraving. It helps achieve clean designs with minimal char by protecting the material during the cutting and engraving process. While upgraded air assist systems may eliminate the need for masking, I find that it ensures pristine results in my projects. Exercise caution as masking can pose a fire hazard, especially with acrylics.
I recommend using 4075-RLA paper-based masking, which has proven effective for various materials like woods, acrylics, and laser-safe leathers. When applying masking, ensure it adheres smoothly to the material surface for optimal results.
Utilizing LightBurn for Laser Engraving
In LightBurn, you have the option to design from scratch using built-in shapes and fonts or import files such as .SVG or .Ai from external software like Inkscape or Adobe Illustrator. I personally prefer designing in Adobe and importing the final design into LightBurn for refinements.
The project samples provided in this guide are available for download from the OMTech website, allowing you to follow along seamlessly.
Importing a Design for Laser Engraving
To bring a design into LightBurn that you have downloaded or saved from another software, simply access the File menu and select Import, as demonstrated in the accompanying graphic.

The imported design includes basic instructions for usage. Allow me to provide a brief overview of the significance of each element. It's important to recognize that if you acquire laser engraving files or download designs from other creators, each designer structures their files differently. Some may include instructions, while others may not.
Editable tags consist of plain elements I created that can be tailored for your unique designs. You have the freedom to insert your own text, graphics, or images—whatever suits your preferences.
Ready-to-go tags already feature basic words combined, making them essentially ready for laser cutting. This also illustrates how the designs are layered on top of one another.
Lastly, the layer breakdowns indicate how the layers should be separated during cutting. In my practice, I strive to minimize waste by nesting items as closely as possible (refer to other images for clarification).
It's worth noting that while these designs are intended for two-layered wood cuts, you have the option to set them for engraving or outlining text for positioning, if desired.
There are three methods available for setting up the file(s). Let me elaborate on these options.
How to Laser Engrave a Simple Outline
Engraving a simple outline involves tracing the perimeter of the top layer. To prevent cutting through the material, it's essential to keep the "line" and power settings at a low level. One advantage of this method is its assistance in precise layer alignment, particularly useful when working with numerous pieces. While visibility may be challenging on darker woods, the outline provides a reference point for placement.
Regarding time efficiency, engraving the outline compared to the entire engraving process differs. For instance, outlining and cutting a specific design took approximately 37 seconds, whereas the complete engraving and cutting process required about 4 minutes.

How to Laser Engrave a Cut-Out
This technique involves utilizing two distinct layers made from different materials. Both layers must be configured for cutting using the "line" setting.

How to Laser Engrave a Simple Engrave
In this approach, a single layer is used for filling (engraving) and a line for cutting out the outline and holes. The duration for laser engraving versus laser cutting varies depending on the machine. For example, on a 60W machine, engraving took around 4 minutes compared to 2 minutes for cutting.

Summary of Time Estimates:
- Simple outline and cut: 37 seconds
- Layered cut out: 2 minutes
- Engraved and cut: 4 minutes
Executing the Laser Engraving Process
Before initiating the engraving process, ensure your machine's water cooling system is operational. Secure your material in place using heavy magnets to prevent movement and warping. Adjust the focal height as needed for optimal engraving results.

Once the material is loaded, use the Frame function in LightBurn to preview the cutting location. Verify that the designs are correctly positioned before setting the laser parameters based on the material type and desired outcome.

After confirming the settings and layer configurations, send the job to your laser machine. For added precaution, consider sending the job from your computer rather than directly starting it in LightBurn to prevent potential interruptions.

Assembling the Engraved Pieces
Upon completing the engraving and cutting process on both layers, it is time to assemble the pieces. Remove the masking from both layers and apply super glue to join them together. Use gentle pressure to ensure a secure bond, and allow the assembly to dry for optimal results.
Once the pieces are securely attached, add the finishing touches such as ribbon or twine to enhance the presentation of the tags. Feel free to customize the tags further with additional embellishments to suit your preferences.
Additional Tips and Troubleshooting
During the project, I encountered challenges such as thin text breaking and masking issues leading to charred areas. To address similar issues, consider adjusting font thickness, cleaning charred areas with a magic eraser or rubbing alcohol, and experimenting with engraving settings to achieve the desired outcome.
Final Touches and Creative Possibilities

The completed tags can be used as stocking adornments, ornaments, or unique gift tags, enhancing the presentation of your DIY gifts. Feel free to explore different applications for the tags, such as attaching them to gift bags or incorporating them into various holiday decorations.
By following this comprehensive laser engraving guide, you can embark on your engraving journey with confidence and creativity. For more instructional resources on CO2 laser engraving and additional tips, visit the OMTech Resource Hub.
FAQs about Laser Engraving
Can you laser engrave at home?
Yes, laser engraving can be done at home with compact laser engraving machines designed for home use. Ensure proper ventilation or an exhaust system for safe operation.
What do you need for laser engraving?
To engage in laser engraving, you will need a laser engraver, a computer, design software, safety equipment, engravable materials, and familiarity with software usage and safety guidelines.


