


How to Clean Wood after Laser Engraving
Wood that has been engraved using a laser presents a versatile canvas with a relatively accessible starting point, making it particularly well-suited for hobbyists and creative individuals operating home-based businesses. By employing minimal preparation and finishing techniques, one can craft genuine works of art. By gaining insight into the process of cleaning laser-engraved wood, individuals can refine their methods and produce even more captivating pieces.
Tips for Cleaning Your Laser Engraved Wood
Achieving remarkable results with laser-engraved wood requires some level of experience and experimentation. However, beginners can follow clear steps to kickstart their journey. OMTech offers a detailed guide on utilizing our laser machines to tackle various projects effectively.
Upon completing the engraving process, one may notice imperfections such as smoke residue, unsightly marks, and dust that can detract from the final product. The following straightforward tips can assist in addressing various unappealing marks on wood surfaces, enhancing the overall quality of the work.
1. Utilize White Vinegar with a Clean Cloth or Paper Towel
White vinegar serves as an excellent cleaning agent for nearly all types of wood. This method is one of the simplest ways to clean dust and address minor soot and residue left behind by laser cutting.
As a solvent, vinegar has the ability to dissolve a wide range of substances. It is more effective in removing minor burn marks and dust resulting from the laser cutting process compared to using water alone.
To apply, dampen a clean cloth with white vinegar and gently wipe the surface of the engraved wood. Avoid soaking or saturating the wood; use a modest amount and ensure to dry the surface if needed.
2. Employ a Waterless or Orange Hand Cleaner with a Soft-bristle Brush
For those who already have a workshop, natural orange hand cleaners are likely familiar. These cleaners, available in various brands, are effective in removing grease and grime from surfaces.
They can also be used to clean soot from the edges of laser-engraved wood and address burn marks. While slightly abrasive, these hand cleaners are gentle enough not to damage the wood.
When cleaning the wood, use a soft-bristle brush for optimal results. This helps prevent scratching the surface. Any residual hand cleaner can be wiped off with a damp cloth afterward.
3. Opt for a Gentle Sanding Technique
Sanding plays a crucial role in many finishing processes, although it may not always be necessary for laser-engraved wood pieces. Depending on the desired style, especially when working with already smooth wood like birch plywood, sanding may not be required post-engraving.
However, light sanding can effectively clean laser-engraved wood surfaces by removing smoke residue, burn marks, and other debris.
For cleaning engraved pieces, use fine-grit sandpaper. Finer grit sandpaper, characterized by a higher grit number indicating smaller particles, helps eliminate surface residue without causing visible scratches.
4. Consider Adjusting the Laser Power
It is common to clean laser-engraved wood to some extent, and this does not necessarily indicate issues with the laser engraver settings. If burn marks and significant defects persist, consider lowering the laser power.
Higher power settings enable faster cutting times and facilitate working with deeper designs in thicker materials. However, they also increase the risk of burn marks and residue due to the greater amount of debris released during engraving.
Determining the optimal power setting often involves trial and error. By engraving the same design on wood samples at different power levels, you can identify a setting that minimizes the need to remove burn marks from laser-cut wood.
5. Check and Adjust the Focus Settings as Needed
In addition to power settings, adjusting the focus of the laser engraver can yield different outcomes. Altering the focal length of the laser affects the depth at which the beam concentrates, influencing the development of burn marks on the wood.
Experimenting with focus settings is key to finding the right configuration for specific wood types and thicknesses. Making slight adjustments can help determine the most effective setting.
Generally, a longer focal length may contribute to burn marks. While a longer focal length can be beneficial for engraving and cutting thicker materials, tightening the focal length can help prevent burn marks.
6. Use Thick Masking Tape Around the Engraved Area
While some burn marks and defects may occur within the engraved area, it is common to find marks and residue along the edges and surrounding regions. Protecting these areas with thick masking tape can prevent burn marks and residue from affecting the wood.
Although some cleanup within the engraved area may still be necessary, addressing the rest of the piece becomes as simple as removing the tape.
A High-Quality Laser Engraving Machine Makes a Difference
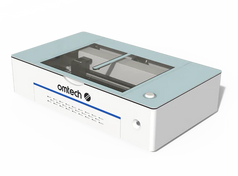
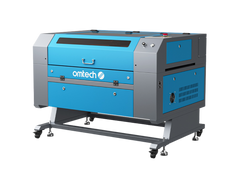
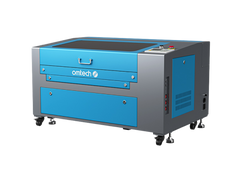
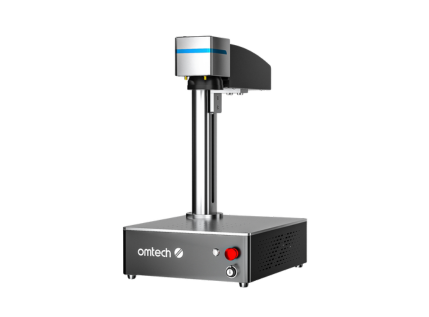
Implementing proper techniques can significantly enhance the quality of your finished products. Cleaning, finishing, and other processes can elevate your creations to new heights. However, achieving exceptional engraving results begins with selecting the right laser machine to suit your requirements.
OMTech offers affordable laser engravers suitable for all experience levels, from first DIY projects to establishing a home-based business. Our laser engravers provide the precision and reliability necessary to create exceptional pieces, supported by reliable customer service. Explore our collections today to discover the ideal laser engraver for your needs.


