Should You Stain Wood Before or After Laser Engraving?

Thorough preparations are essential to ensure the highest quality of your wood engravings. Consider factors such as the type of wood, the laser engraver being used, and the stain applied. Staining the wood before beginning the engraving process offers several advantages. At OMTech Laser, we are here to assist you in preparing your wood for laser engraving, whether you are a seasoned professional or simply pursuing your passion for creating beautiful wood engravings.
Should You Stain Wood Before or After Laser Engraving?
The question often arises: should you stain the wood before or after laser engraving? It is generally recommended to stain the wood before laser engraving, but this must be done correctly to achieve optimal results.
When using an oil-based or petroleum-based stain, ensure that the wood has ample time to dry. Improper drying can lead to flammable pigments, resulting in burns and smoke marks on the wood. On the other hand, a water-based stain will not leave behind burn or smoke marks on your workpiece.
After completing the engraving process, you can enhance the finished look by sealing the wood with a clear coat or lacquer.
Wood Laser Engraving in Detail
Achieving exceptional wood engravings requires a combination of a high-quality wood laser engraver and a solid understanding of wood engraving techniques. Several steps should be followed to ensure the success of your wood engraving project.
Step 1: Design Preparation
Laser engravers operate using digital files. These design files can be either raster files, composed of millions of pixels, or vector files, consisting of mathematical equations defining geometric patterns. For laser engraving, it is recommended to use vector format design files.
Step 2: Conducting Test Runs
Performing test runs is crucial to finding the optimal settings for your project. A square matrix is an effective way to test various outputs and machine settings.
Step 3: Selecting the Right Wood
Both plywood and natural wood are suitable materials for laser engraving. Engraving woods like Ash and European Beech can result in clean edges with minimal burns. Hardwoods such as Mahogany and Cherry may yield even better results due to their characteristics.
Step 4: Engraving the Wood
Once your wood is prepared, follow the instructions provided with your laser engraver to begin the engraving process.
Step 5: Finishing Touches
To remove burn marks from the wood, use a cloth with soapy water. If desired, you can re-stain the wood to enhance the contrast of the engraving.

Wood Staining Techniques
Selecting the appropriate stain for your wood is crucial for achieving desired results. Water-based stains are ideal for softwoods like pine, offering easy cleanup, odorless application, and quick drying times. On the other hand, oil-based stains are well-suited for hardwoods such as oak, emphasizing the wood grain's detail despite longer drying times and a distinct odor.
To stain your wood effectively:
- Sand the wood in the direction of the grain until smooth before staining.
- Thoroughly mix the stain before application.
- Apply the stain with a paintbrush or cloth, following the wood grain's direction.
- Allow water-based stains to dry for 2 to 3 hours and oil-based stains for 4 to 6 hours to prevent wood burning during engraving.
Choosing the Right Laser for Wood Engraving Projects

When selecting a wood engraving machine, consider the following factors to ensure it meets your requirements:
- Focus on features such as laser power, engraving area, and laser type that align with your budget.
- The type of material you intend to engrave will dictate the laser engraving machine you purchase.
- Opt for a machine with a lead screw drive, adequate spindle power, and professional assembly for optimal results.
- If you prefer self-maintenance, choose a laser machine that is easy to upkeep.
- Ensure the machine you select has readily available parts and can be installed without professional assistance.
Explore Top Laser Engraving Machines Available

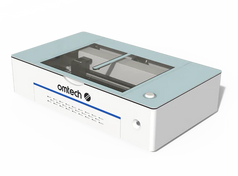
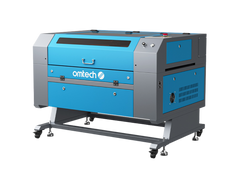
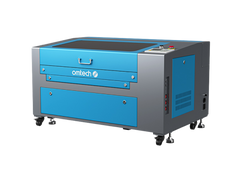
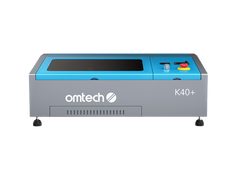
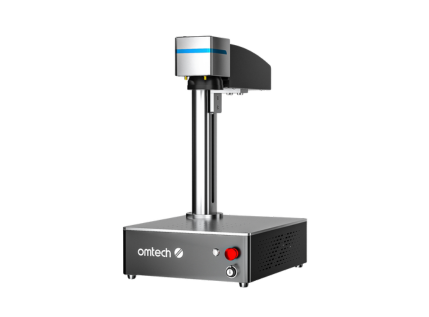
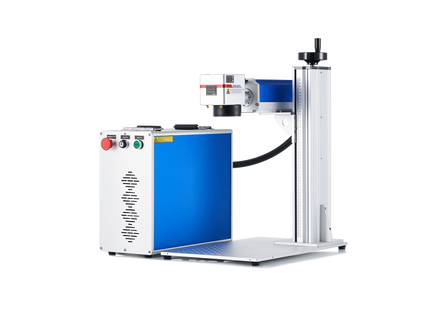
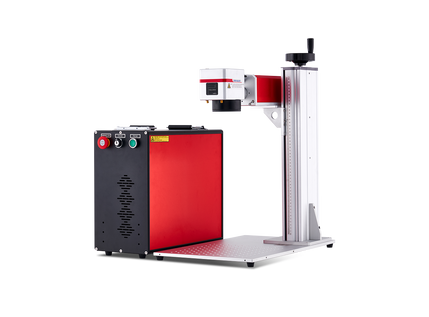
For outstanding project outcomes, invest in a high-quality laser engraver tailored for wood engraving. Elevate your woodworking projects with the precision and finesse of laser engraving. OMTech Laser offers a diverse range of engravers to meet your specific needs, backed by comprehensive customer support and a 2-year machine warranty to support you throughout your laser engraving journey.
Best Wood Types for Laser Engraving
The type of wood used for engraving significantly impacts the final product. Lighter woods typically produce high-quality engravings, with options like Alder, Cherry, Redwood, Pine, Cedar, MDF, and plywood being popular choices.
Before engraving on your project wood, conduct a trial run on a spare piece to confirm your settings. While this may require additional time initially, it will ultimately save both material and time in the long run.
Safety Measures for Laser Engraving Wood
Prioritize safety in your workspace by adhering to the following precautions during wood laser engraving:
- Wear protective eyewear and clothing.
- Maintain proper ventilation with an exhaust system to eliminate harmful fumes.
- Keep a damp cloth, water-filled spray bottle, and fire extinguisher nearby.
- Follow the safety guidelines provided with your laser engraving machine.
Tips for Preventing Burn Marks on Wood
Given wood's flammability, burn marks can easily occur during engraving. To minimize burning:
- Adjust the laser's focal distance correctly.
- Apply compressed air to the engraving area.
- Experiment with different wood types at varying laser speeds.
- Dampen the wood before laser engraving.
If burn marks persist, consider these removal methods:
- Lightly sand the wood surface to eliminate marks.
- Gently scrub burn marks with a soft brush and soapy water.


